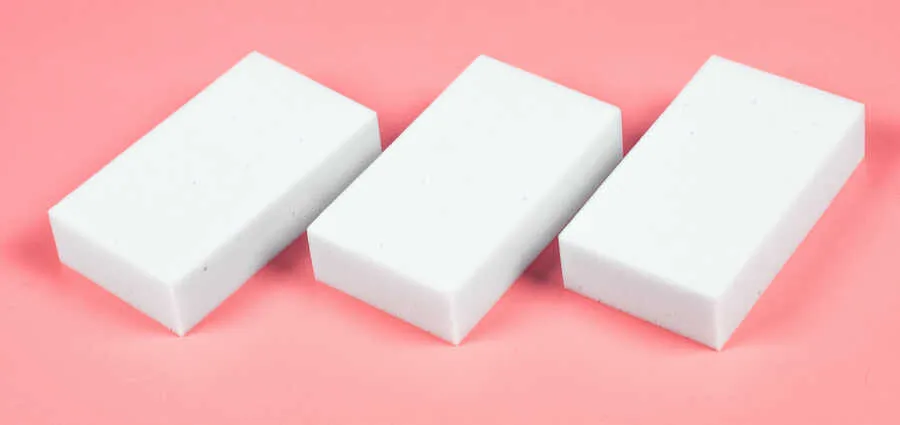
Cleaning with Magic Sponges
A single sponge tackles scuffs, grime, and stains; learn where it shines and how to extend its life.
Category
If you’re looking for a way to clean a random stain or dirty furniture in the simplest way, you only need one thing… A magic sponge! Brand name or not, these can be used for numerous clean-ups. It can be hard to keep up with the dust and dander so keep clean with the must-have tool in your house.
Here is a list of some things to give you an idea about their magical powers!
- remove dried paint from door hinges
- remove tarnish from silver
- remove mold & mildew from anything plastic
- clean & polish gold jewelry
- remove soap scum in the tub and shower
- remove marks on walls
- clean splatters inside the microwave
- remove marks on vinyl siding
- remove adhesive residue after removing stickers
- remove waterline mark around the pool
- remove hair dye from countertops & floors
- clean light-colored suede
- remove black scuff marks from baseboards (where the vacuum cleaner hits)
- clean the outdoor side of window sills stained from leaves, dust and dirt
- clean plastic coolers inside and out
- remove rust spots & stains on countertop
- remove cooked-on stains in pots and pans
- remove soot off the walls near the fireplace
- clean within the grooves of lawn ornaments
- clean sticky/dusty range hood over the stove
- remove nail polish spills or stains
Now that this seemingly infinite list is over, here are a few more tidbits...
How To Get The Most Out Of Magic Sponges
To get more life out of your sponges, try these things out:
- Cut each sponge into 4 equal-sized pieces (across the shortest width of the eraser, rather than lengthwise). This way, you get 4 times the amount of cleaning out of one spongr
- Lightly mist it with water (by misting or using the kitchen sink sprayer), rather than saturating it with water — which causes it to shrivel up more.
- Scrub lightly, then wipe the area with a wet towel to prevent smearing the dirt/grime and remove any residue.
- When it starts to get yucky (after cleaning a few different items), simply spray rinse it again to revive it a bit. Then squeeze the excess water out, and continue using it until it starts to shred.


_compressed.webp)